What is a Favicon?
A favicon is an image displayed in a browser tab or next to a web address in the address bar of your browser. it is usually 16 pixels by 16 pixels, but some browsers support 32 x 32. Favicons are usually created in the .co format, but some browsers will accept PNG files as well. A favicon is a great visual representation of your site, and it will show up in most bookmarking apps or programs.
Create a Favicon
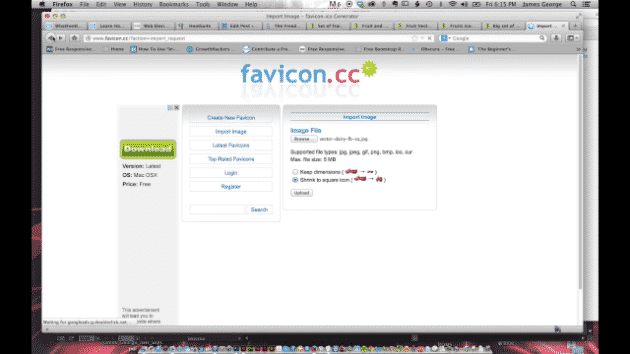
Creating a favicon doesn’t have to be hard. You don’t even really need an image editor like Photoshop or Gimp to create one. If you have an image, you can generate one via one of the favicon generating websites out there. The best method is to have a square version of your logo or image, whether it is already square, or it is cropped. Then, you can go to just about any favicon generating website and upload your image. The site will automatically generate a 16px x 16px favicon for your website. Then, all you have to do is download it and implement it in your website via a line of code. Most WordPress themes that allow you to upload a logo, also have a place for a favicon to be uploaded. if not, there might be a plugin to do this instantly.

Installing Your Favicon
In a typical website, you can initiate your favicon with a single line of code. If you have ftp access to your website, upload your favicon to the images folder on your website. You could also leave it in the root folder as well. Wherever you place it, make note of the file path to your favicon file. You’ll need it so that you can tell the browser where to find it in your html. Open up your html file with a text editor, and insert the following html between the opening and closing <head> tags in your html.
<head>
<link rel="icon" type="image/png" href="/somewhere/myicon.png" />
</head>
Make sure that where it says “somewhere/myicon.png” that you put the file path that I was talking about earlier. That way, your favicon will show up like it is supposed to.