Online businesses are made successful through sales insights, understanding customer behavior and evaluating other statistics. In PrestaShop, the defaults reports and statistics may suffice the need of a small business but may not give you in-depth analysis of each activity performed at your website. The Google Analytics steps ahead in this regard by offering advanced tracking tools and statistics to the visionary leadership who never satisfied with higher sales figures of their store. You can also setup Google Analytics on your website by following the tutorial below in order to avail the real-time traffic and conversion insights.
Setting up Google Analytics
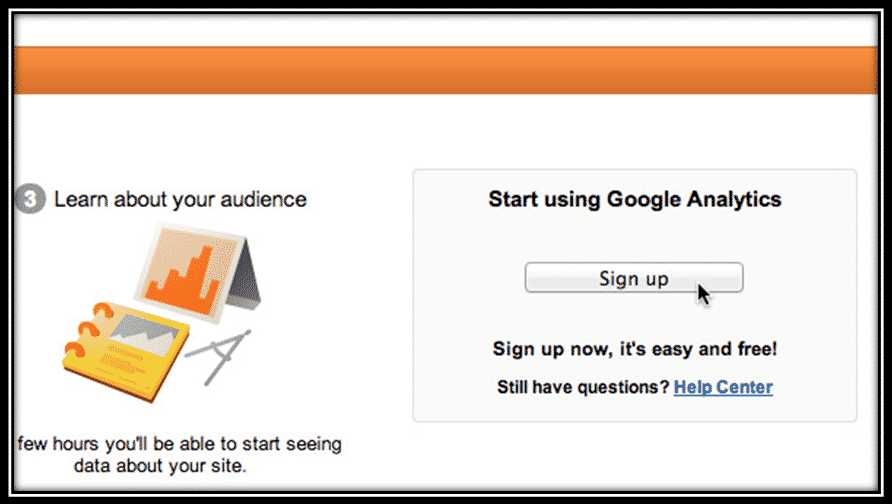
Step 1: Log in to Google Analytics account if you already have one, else sign up for a new account.

Step 2: After creating and signing in to your account, click on the Admin tab and navigate to the Property. Hit the “Create New Property” option in the drop-down menu.

Step 3: Enter the details of your website and click “Get Tracking ID”

Step 4: This will generate a tracking ID as highlighted in the image. Copy this ID as it will be required to paste in the PrestaShop addon for configuration of Google Analytics.

The PrestaShop Google Analytics module
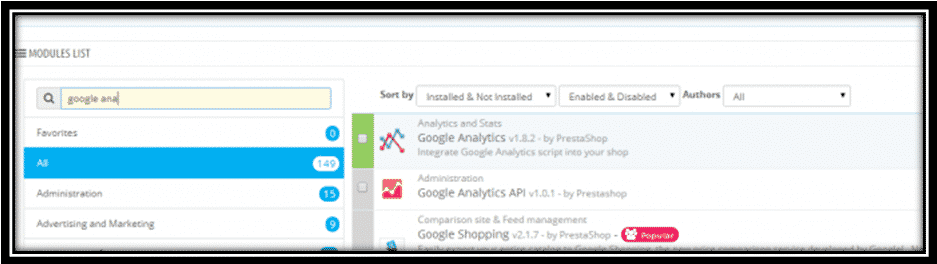
Step 5: Now, Log in to your PrestaShop admin panel, go to the modules section and search for the Google Analytics module. Usually, it is named as Ganalytics. Click install.
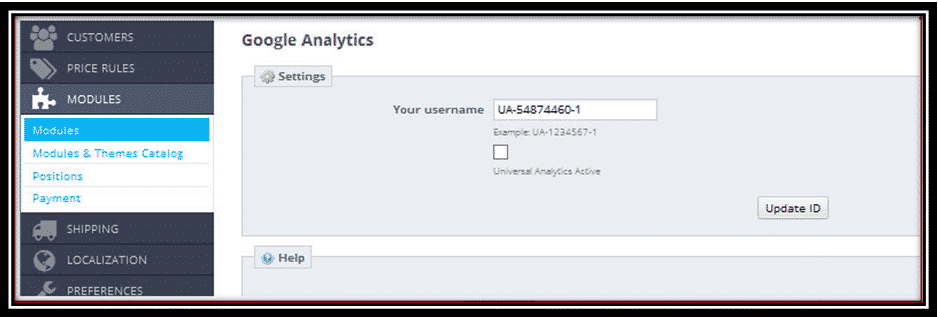
Step 6: Configure the basic settings. In the Username, enter the tracking ID that is generated in Google Analytics account for this property and click Update ID.
Congrats. You have configured the basic settings of adding Google Analytics to your website. Allow at least 24 hours for Google to collect the information and display it in your dashboard.
Enhanced Ecommerce Reports
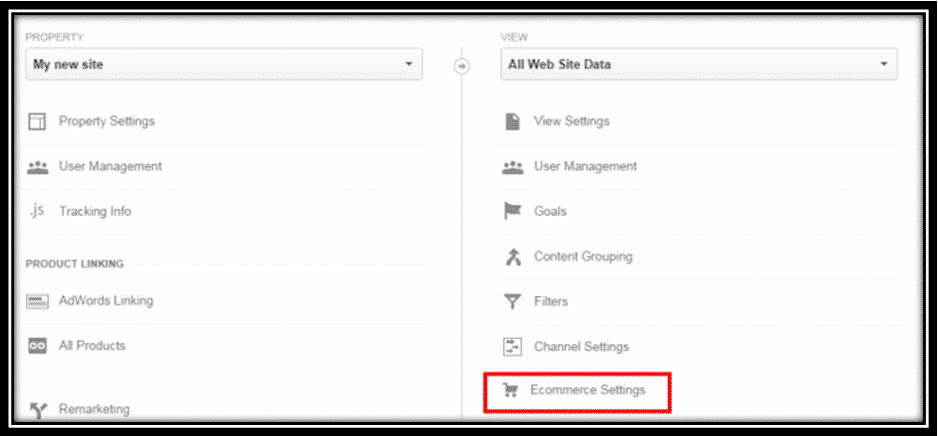
Step 7: The Google Analytics have a powerful feature of Enhanced Ecommerce Reports to overview the performance of your store with respect to products and services. Navigate to the Property tab and click Ecommerce Settings under All Web Site Data.
Step 8: Enable Ecommerce set up and the Enhanced Ecommerce Reports for in-depth reports and analysis of your web traffic.

Setting up Goals
A successful businessman is known for tracking the business performance along with sales operation. Setting up goals, evaluating its performance and pursuing higher conversions are some of the power activities every entrepreneur pursues. The Google Analytics allows you to define goals to have an eye on the sales and other leads that are significant to your business.
You can define a goal with any activity a visitor perform while shopping your store. Setting up goals depends on you company needs and marketing campaigns. For example, you can define a goal for customers to reach the destination page of an order confirmation, which means the customers have placed an order and is counted a conversion in your analytics.

Step 9: After configuring Ecommerce reports, you can set up goals by referring to the Property in your Google Analytics account and find “Goals” in the All Web Site Data
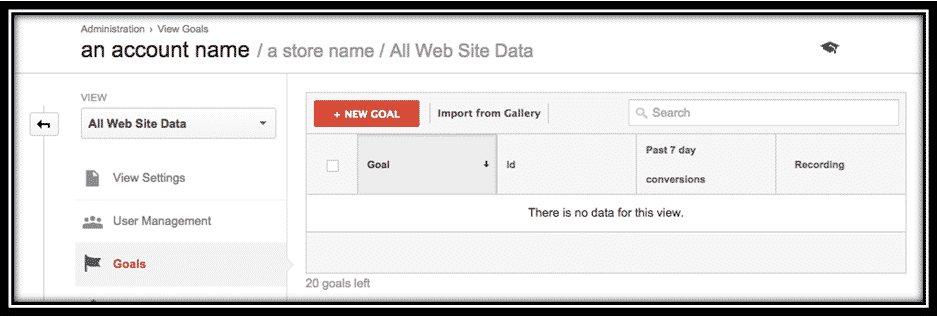
Step 10: On the next page, you can see + New Goal. Click to proceed with setting up goals

Step 11: Add details and select a type of goal you need to define. After completing the Goal Detail section, click Save and it is done.
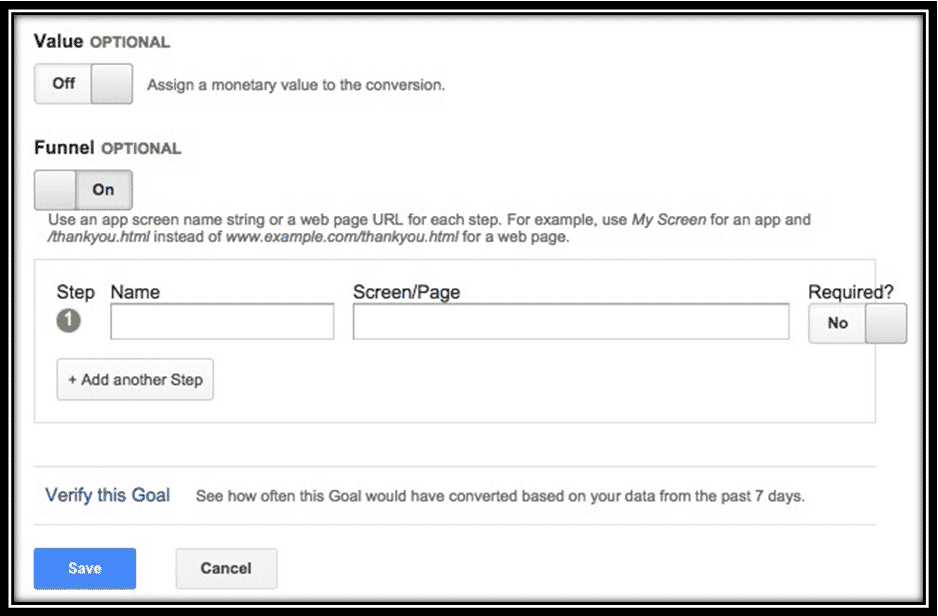
Goals are often accompanied with enabling the funnels which means defining a route for customers to reach a goal. For example, if you set up a goal of landing an order confirmation page for customers, the different checkout processes that are required to accomplish the goal is called a funnel. You can define the funnel in various steps to know where the customers leave the cart.
Step 11: Funnels are optional but you can enable it to know more about your customers’ behavior. You can turn it on in the Goal details section. Click On and add URLs for defining a funnel sequence. For multiple URLs, you can click + Add Another Step. Hit Save after filling the details.
Final Confirmation
The addition of Google Analytics is made easy with this tutorial as you are not required to edit the complex coding behind your website. In short, you have to generate a tracking ID, copy and paste it in the required module. You can configure settings for enabling reports and defining goals, and it is almost complete.
The Google Analytics may need a few hours to gather information about your website traffic and sort it accordingly in your dashboard, whereas you can confirm the addition of analytics in the following step.
Step 12: Load your website in one tab of the browser and refer to the property in your Google Analytics account. Navigate to the Reporting tab, and click Real Time from the left menu. In the Overview option, you can see ‘1 active user right now’ that is you because you have already loaded the website.
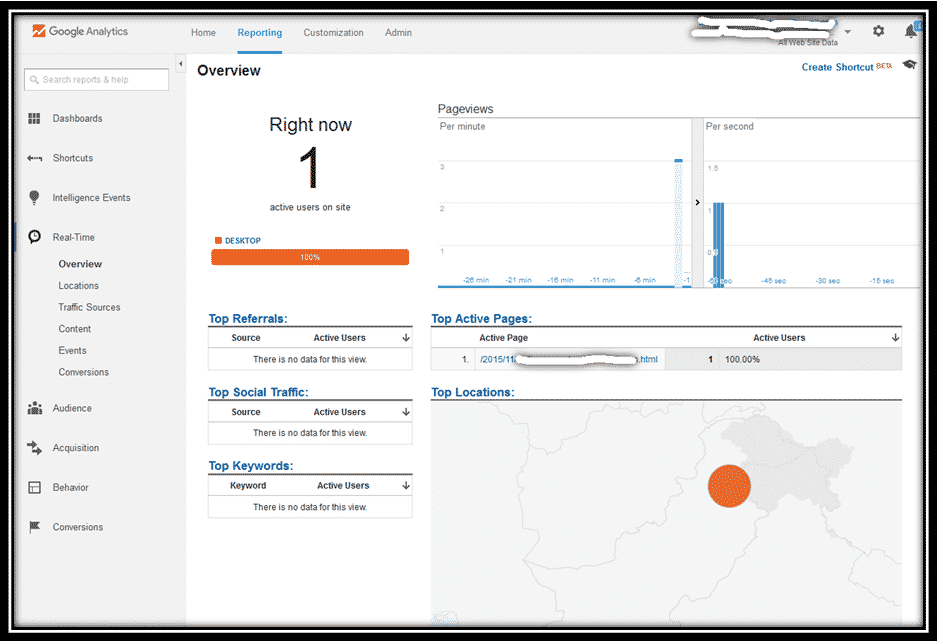
It is a confirmation that you have successfully added Google Analytics to your website. You will receive traffic feed in your account along with multi dimensional attributes soon.
Author Bio: Alastair Brian writer from “FMEModules” – a brand well known for top of the line reliable PrestaShop Add-ons, themes, extensions and services.